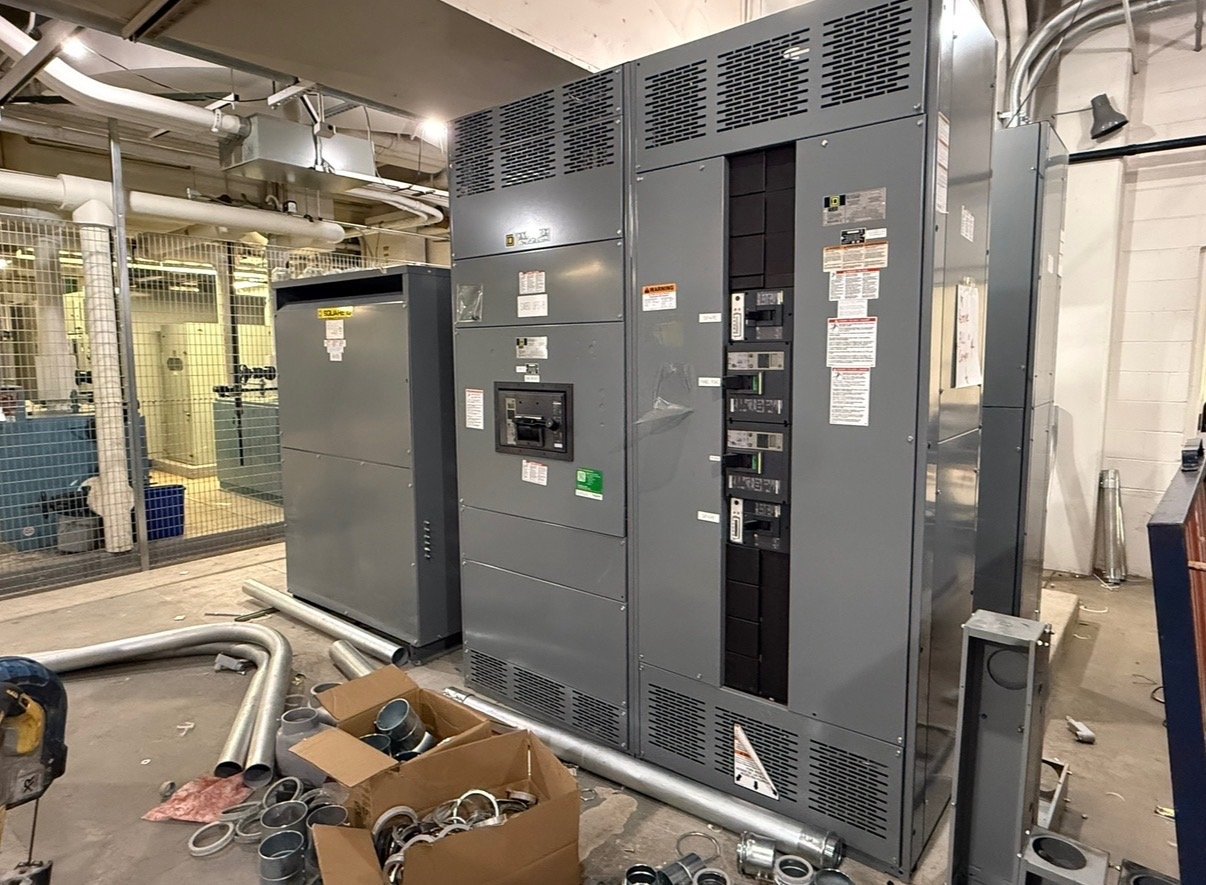
Capture the equipment identity
Photograph each nameplate straight on, with enough clarity to read the manufacturer, model, serial number, voltage, current, frequency, interrupting or withstand ratings, and applicable assembly standard. Record the equipment type and section identifiers as well. For a lineup with multiple sections, connect each photo to a marked-up elevation so the design team can distinguish main, tie, feeder, and auxiliary compartments.
Transcribe the information rather than relying on photographs alone, and flag anything illegible or missing. Note breaker and fuse manufacturer, frame or catalog designation, trip unit, sensor rating, and control voltage when shown. These details help assess which functions and interfaces a new assembly may need; they do not establish that existing devices can be reused or that a particular replacement is compatible.
Measure the lineup and its surroundings
Record overall lineup width, height, depth, section widths, and the position of doors, barriers, cable compartments, and bus access points. Measure the available room, including ceiling height, wall offsets, columns, floor curbs, and nearby equipment. Include front, rear, and side working clearances as observed, but leave compliance judgments to the project engineer and the authority having jurisdiction.
Document the route from the receiving point to the final location: door and corridor clearances, turns, stairs or ramps, elevator limits if applicable, and floor transitions. Identify obstructions that could affect moving, staging, or setting equipment. For a Georgia delivery, share the facility address or city, receiving hours, truck access restrictions, unloading arrangements, and any limits on delivery vehicles so shipping and installation planning can be coordinated.
Trace power and control interfaces
Create a simple one-line or annotate the current one-line with source, main, tie, feeder, and load relationships. Record conductor entry direction, bus connections, cable sizes and counts when known, neutral and grounding arrangements, and metering or protection functions. Note whether feeders serve motors, transformers, emergency systems, or other loads that affect switching and coordination requirements.
For control wiring, photograph terminal strips and mark wire numbers, destination labels, control power sources, interlocks, alarms, communications, and remote operating signals. Gather available elementary diagrams, wiring schematics, settings, and panel schedules. Do not infer a circuit function from wire color alone. Have qualified personnel perform any inspection requiring access to energized compartments; survey notes and photos should be taken without unsafe contact or operation.
Describe condition and operating history
Record visible issues such as corrosion, water staining, dust buildup, damaged doors, missing labels, heat discoloration, or evidence of prior modifications. Note unusual sounds, odors, nuisance trips, and known maintenance findings only as reported observations, with dates and source where possible. Do not remove covers or disturb conductors to improve the survey; intrusive inspection belongs to qualified personnel under the facility’s safety procedures.
Share operating context that may shape replacement planning: known fault or overload events, maintenance records, outage constraints, planned load changes, and whether the existing lineup must remain in service during construction. Identify which circuits are critical and what outage windows may be available. These facts help engineers and procurement teams evaluate transition needs, design scope, and schedule assumptions without treating a visual survey as a condition assessment.
Turn findings into a quote-ready scope
Send the survey record with the latest one-line, elevations, wiring drawings, equipment schedules, and photographs, labeling each file by lineup and section. State what is confirmed, what is estimated, and what remains unknown. For a quote, share the required system voltage and current, source and feeder arrangement, protective-device functions, enclosure and environmental needs, control or metering requirements, preferred delivery location, and target project milestones.
Ask the manufacturer to identify assumptions and open questions before design proceeds, including any field verification needed for cable landing space, footprint, interfaces, or replacement sequencing. New assemblies can be custom built, and UL 891 applies to switchboard assemblies; it is not a blanket listing for medium- or high-voltage switchgear. Final configuration, applicable standards, availability, and timing are confirmed for the specific order.
Make the handoff actionable
Before submitting the package, have the facility engineer or qualified electrical contractor review the measurements, one-line, and interface notes for consistency. Mark uncertain dimensions clearly and include a contact for resolving technical questions through the project team. If access is restricted or a shutdown is required to verify details, note that constraint instead of guessing at hidden connections or internal conditions.
A complete survey gives design and purchasing teams a practical basis for comparing the existing installation with a proposed new assembly. Start by assigning one person to compile nameplate photos, dimensioned sketches, wiring records, condition observations, and Georgia delivery constraints. Submit that organized package with the quote request, then confirm any unresolved field details before approving the final design.